
cutlistlab › Manual › Getting started
Chapter 1
Getting started
What the tool does, and how to get your first cutting plan within five minutes.
What the tool does
You enter the parts you need and the sheets you buy. The tool works out how those parts come out of those sheets with the least waste, and draws that as a cutting plan. You also get a cut list, a cutting order, labels and a PDF to take with you.
Every cut runs from edge to edge. That is called a guillotine layout, and it is exactly what you can make with a circular saw on a guide rail, or at a store cutting service. So there is no cut-out in the middle of a sheet, because a saw cannot make one.
The tool runs entirely in your browser. No account is needed, there is no limit on the number of parts, and your work stays on your own device.
Your first cutting plan in four steps
- Under Parts, fill in a name, the length, the width and the quantity, and click + Add part. Repeat for every part. If your sizes are already in a spreadsheet, use Parts from CSV and paste them all at once.
- Under Sheet material, check which sheet you are buying. One is already set up. With Library you pick a sheet exactly as a store really sells it, including size, thickness and price.
- The cutting plan appears straight away. There is no Calculate button to press: every change recalculates immediately.
- Take it with you. Under Export you find Cutting plan as PDF, Print labels and Cut list as CSV.
The screen
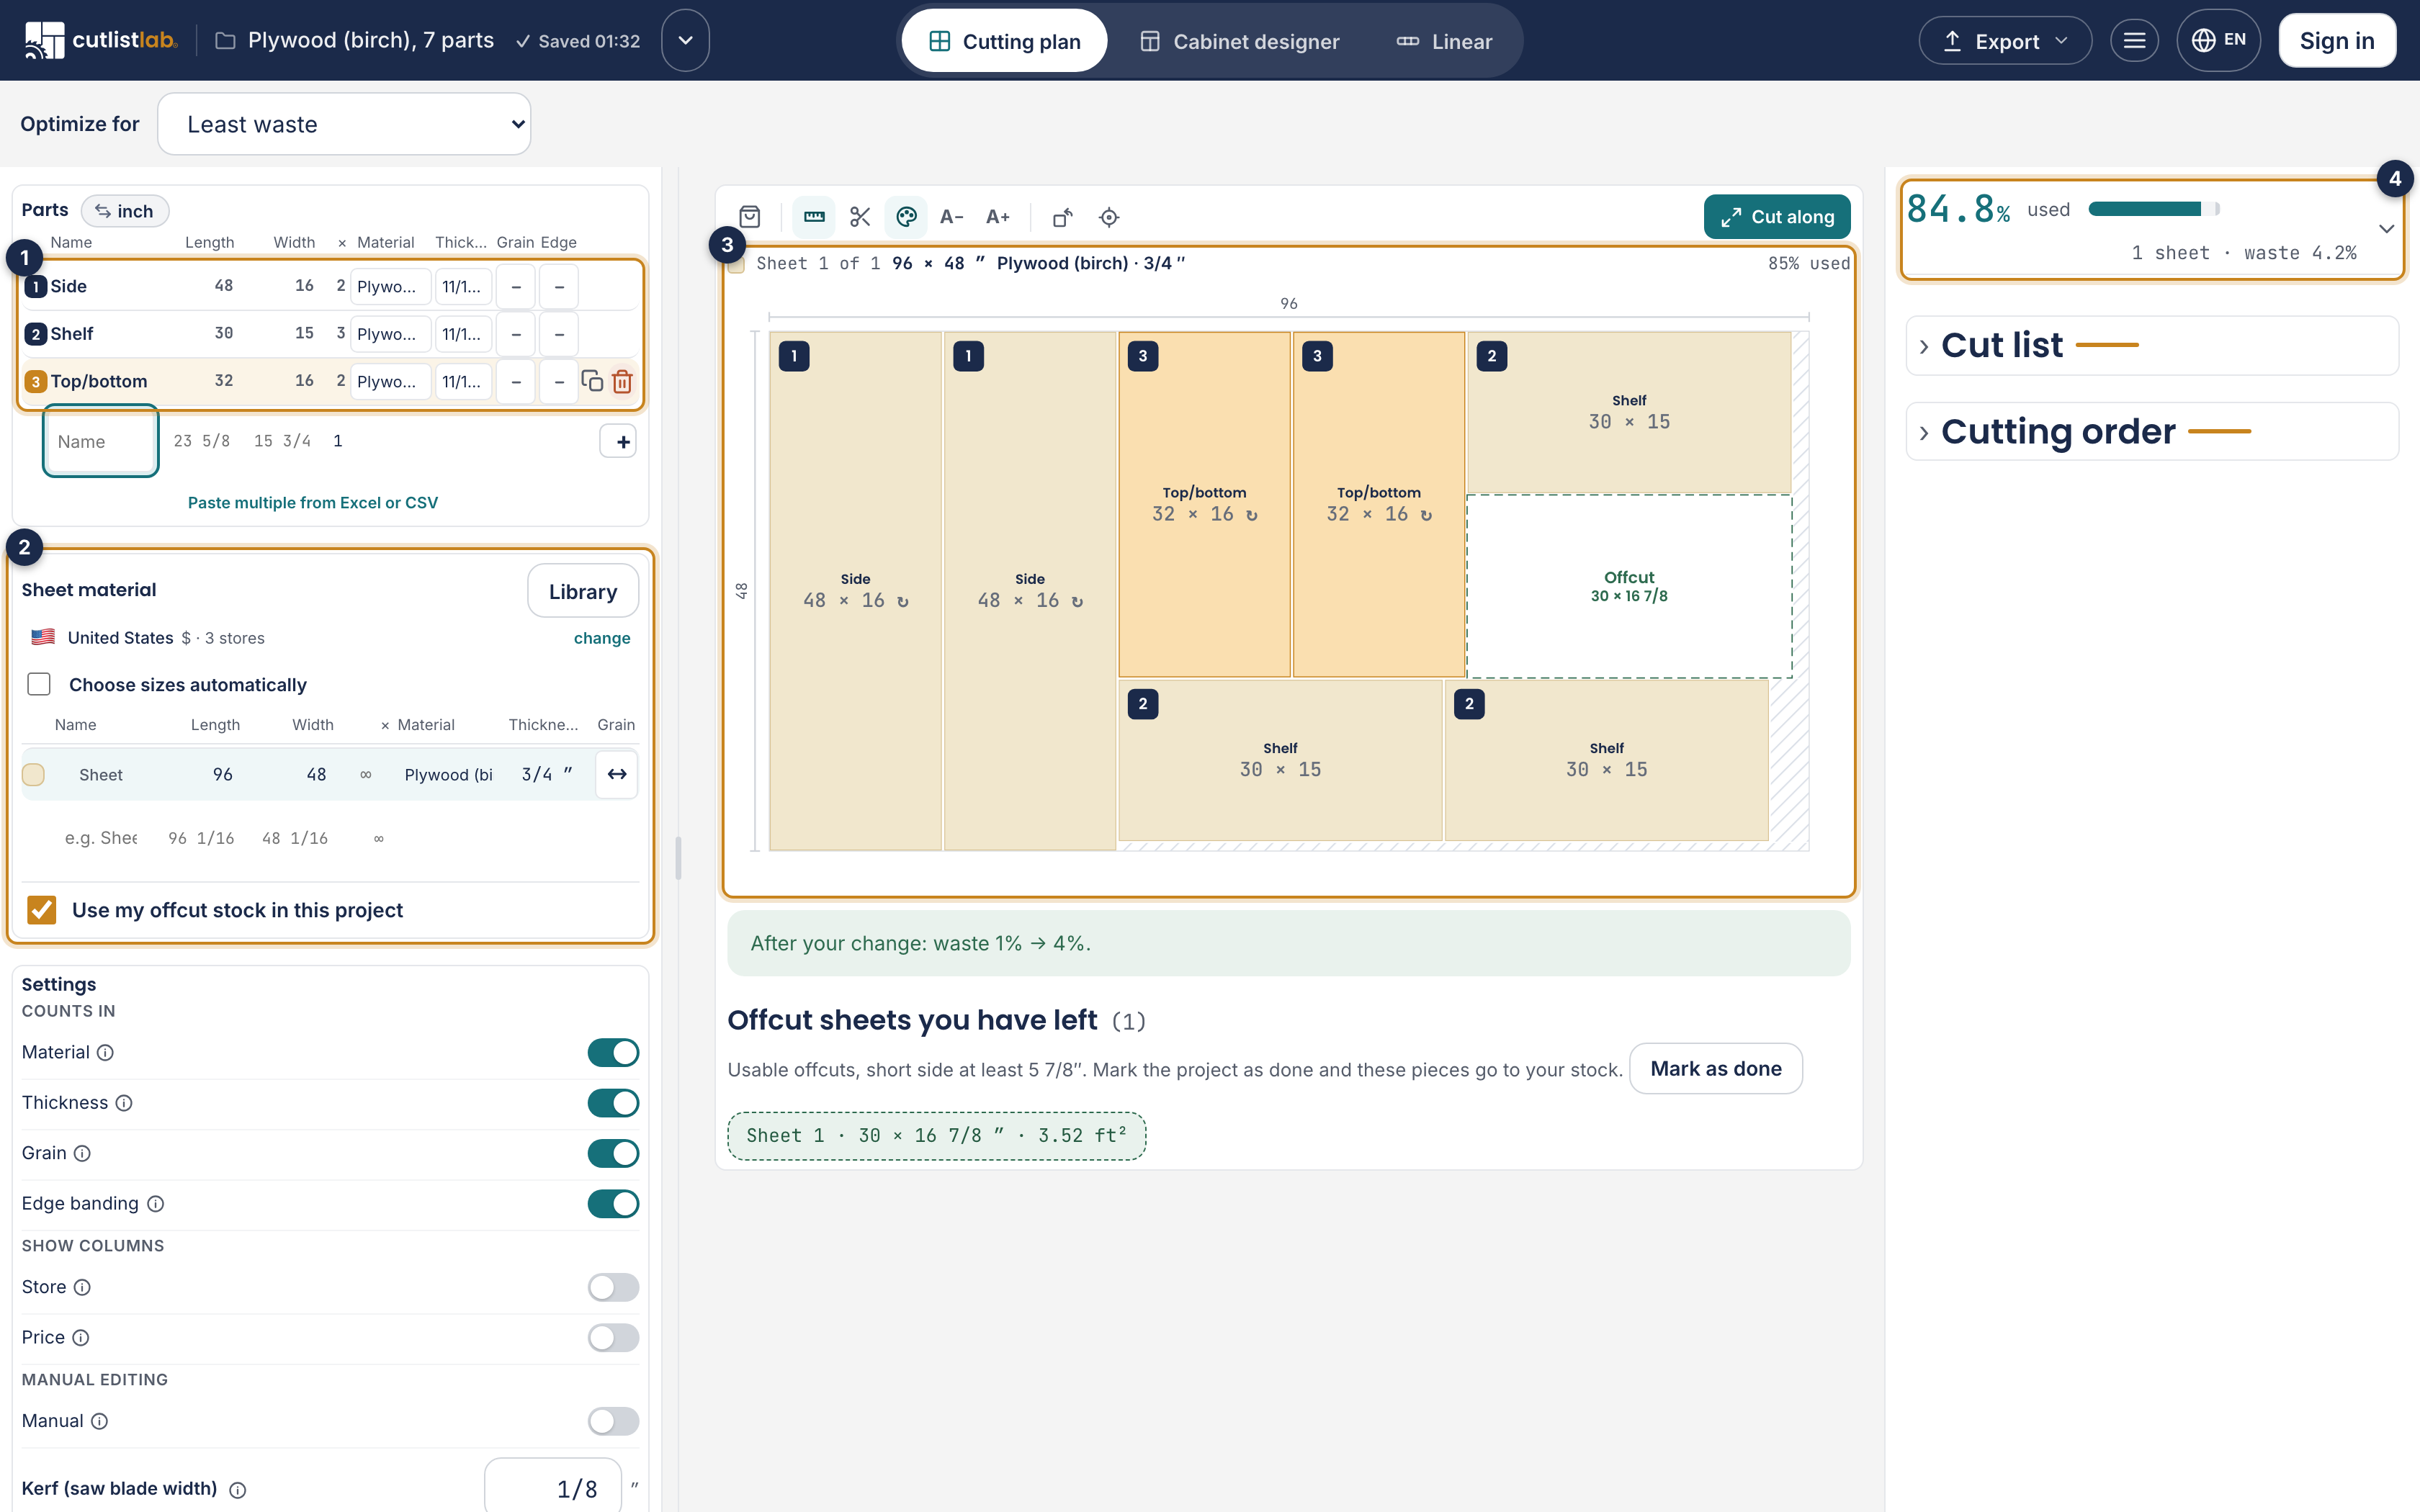

- 1. Parts
- The list of what you want to cut. Each row is one size; the quantity sits behind it. See Parts.
- 2. Sheet material
- The sheets to cut from, plus your offcut stock. See Sheet material.
- 3. The cutting plan
- The drawing, one block per sheet. See Reading the cutting plan.
- 4. The result
- How much sheet you use, how much waste there is, and below it the cut list and cutting order.
Your work is saved automatically
There is no button to remember. Every change goes straight into your browser storage, on this device. The top bar shows when that last happened.
There is one downside: if you clear your browser data, your work is gone. For a copy, or to continue on your phone where you left off on the computer, read Projects and Account and syncing.
Two layouts, and two modes
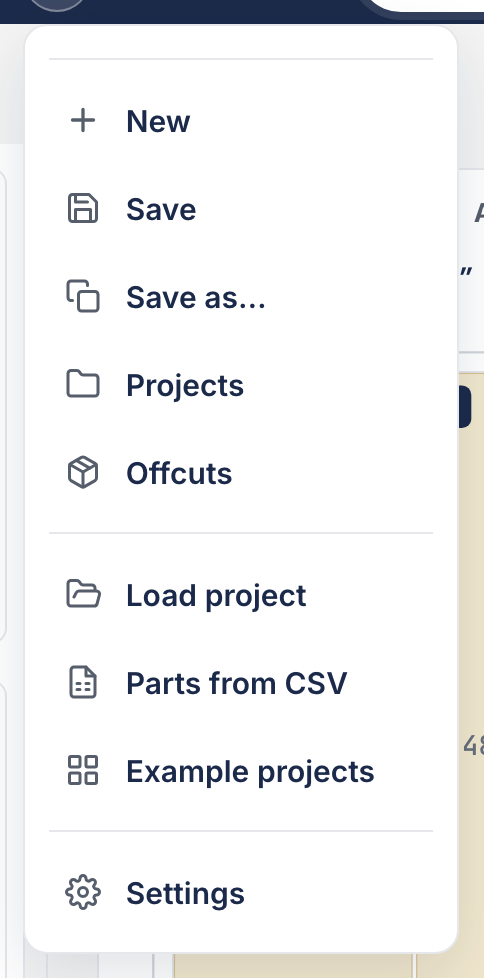
Which buttons you see depends on the width of your screen. From about 1000 pixels the tool switches to the wide layout: three columns side by side, and a row of icon buttons just above the cutting plan. Below that you get the narrow layout: everything stacked, with a tab bar at the bottom and a menu for the display options.
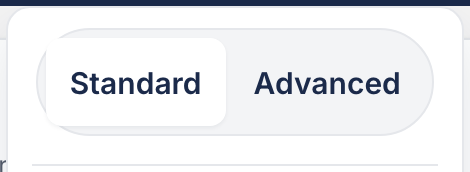
In the narrow layout you choose between Standard and Advanced, in the menu behind the project name. In Standard you only see what an ordinary job needs. Advanced switches on three things: the grain button and the banding button on every part row, the Optimize for choice at the top, and dragging pieces around in the plan by hand.
If you want the narrow layout on a wide screen anyway, add ?layout=standaard to the address of the app. The choice is remembered.