
cutlistlab › Manual › Parts
Chapter 2
Parts
The list of what you want to cut: entering, changing, duplicating, and what every column means.
Adding a part
Below the list sits an entry row. Fill in Name, Length, Width and Quantity, then click + Add part. The plan recalculates immediately.
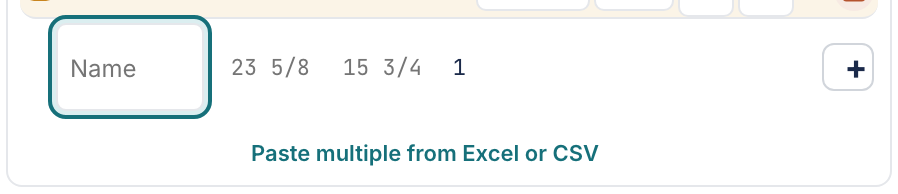
The name can be anything you recognise: Side, Shelf, Left door. That name comes back in the cutting plan, on the cut list and on the labels, so pick something that helps you at the saw bench.
If your sizes are already in Excel, Numbers or Google Sheets, use Paste multiple from Excel or CSV. That saves a lot of typing. See CSV in and out.
The columns

- Name
- What you call the part. Click the name in the list to change it.
- Length
- The longest dimension of the piece, in the unit shown at the top.
- Width
- The other dimension. Which of the two you call length makes no difference to the calculation.
- Quantity
- How many pieces of exactly this size. One row with quantity 4 is the same as four separate rows, but far easier to read.
- Material
- Which material this piece comes from. Only shown when you use more than one material. A part never comes out of a sheet of a different material.
- Thickness
- Same rule as material: 18 mm never comes out of a 12 mm sheet. Only shown with more than one thickness.
- Grain
- Whether this piece may rotate. See Grain and edge banding.
- Edge
- Which sides get edge banding, and what that does to the cutting size. See Grain and edge banding.
The Material and Thickness columns only appear when you need them. As long as everything comes from one kind of sheet they stay away: a column where every row says the same thing is just noise.
Changing, duplicating, deleting
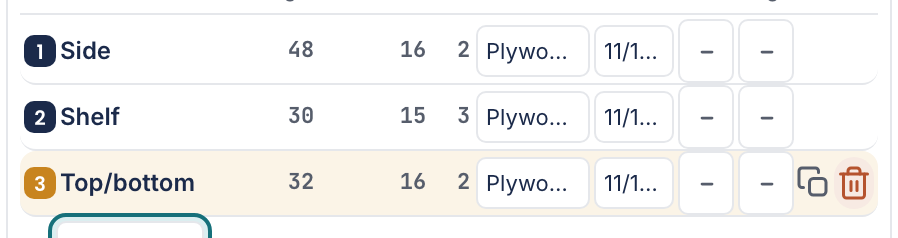
- Changing a size: click in the number and type the new value. The plan recalculates as soon as you leave the field.
- Changing the name: click the name itself.
- Duplicate: makes a copy of the row with the same sizes. Handy when you have two nearly identical parts.
- Delete: removes the row. If that was a mistake, use Undo (Cmd or Ctrl + Z).
The number to the left of each row is the same number shown on the piece in the cutting plan. Click it and the drawing jumps to that piece, so you see straight away where it sits.
When a part fits nowhere
If a part fits on no sheet at all, it gets a red badge with the reason. There are five reasons, and they say exactly what is going on.
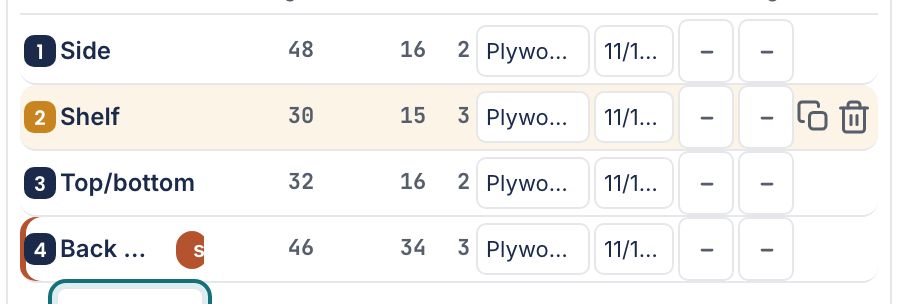
| Badge | What is going on | What to do |
|---|---|---|
| too big | The piece is longer or wider than every sheet you entered. | Choose a larger sheet, or check whether you typed in the wrong unit by mistake. |
| material | There is no sheet of this material. | Add that sheet, or set the part to a material you do have. |
| thickness | The material matches, but you have no sheet in this thickness. | Change the thickness of the part, or add a sheet. |
| grain | The piece would fit if it could rotate, but the grain direction prevents it. | Set the grain to free (may rotate), or pick a sheet that lies the other way round. |
| stock | There are not enough sheets available; one of the sheets has a maximum quantity. | Clear the quantity on that sheet to make it unlimited. |
More about messages and what to do about them is in No plan appears.