
cutlistlab › Manual › Labels
Chapter 19
Labels
A label per cut piece, so you still know what is what after half a sheet. On a cut-out sheet, label sheet or roll.
Why labels
One label per cut piece. Stick them on your panels so pieces do not get mixed up. Choose below what you print on: plain paper to cut out, a label sheet, or a label roll.
After four cuts there are eight rectangles on your bench that all look about the same. You cannot see the difference between a side of 1200 and one of 1198, and measuring costs time every time.
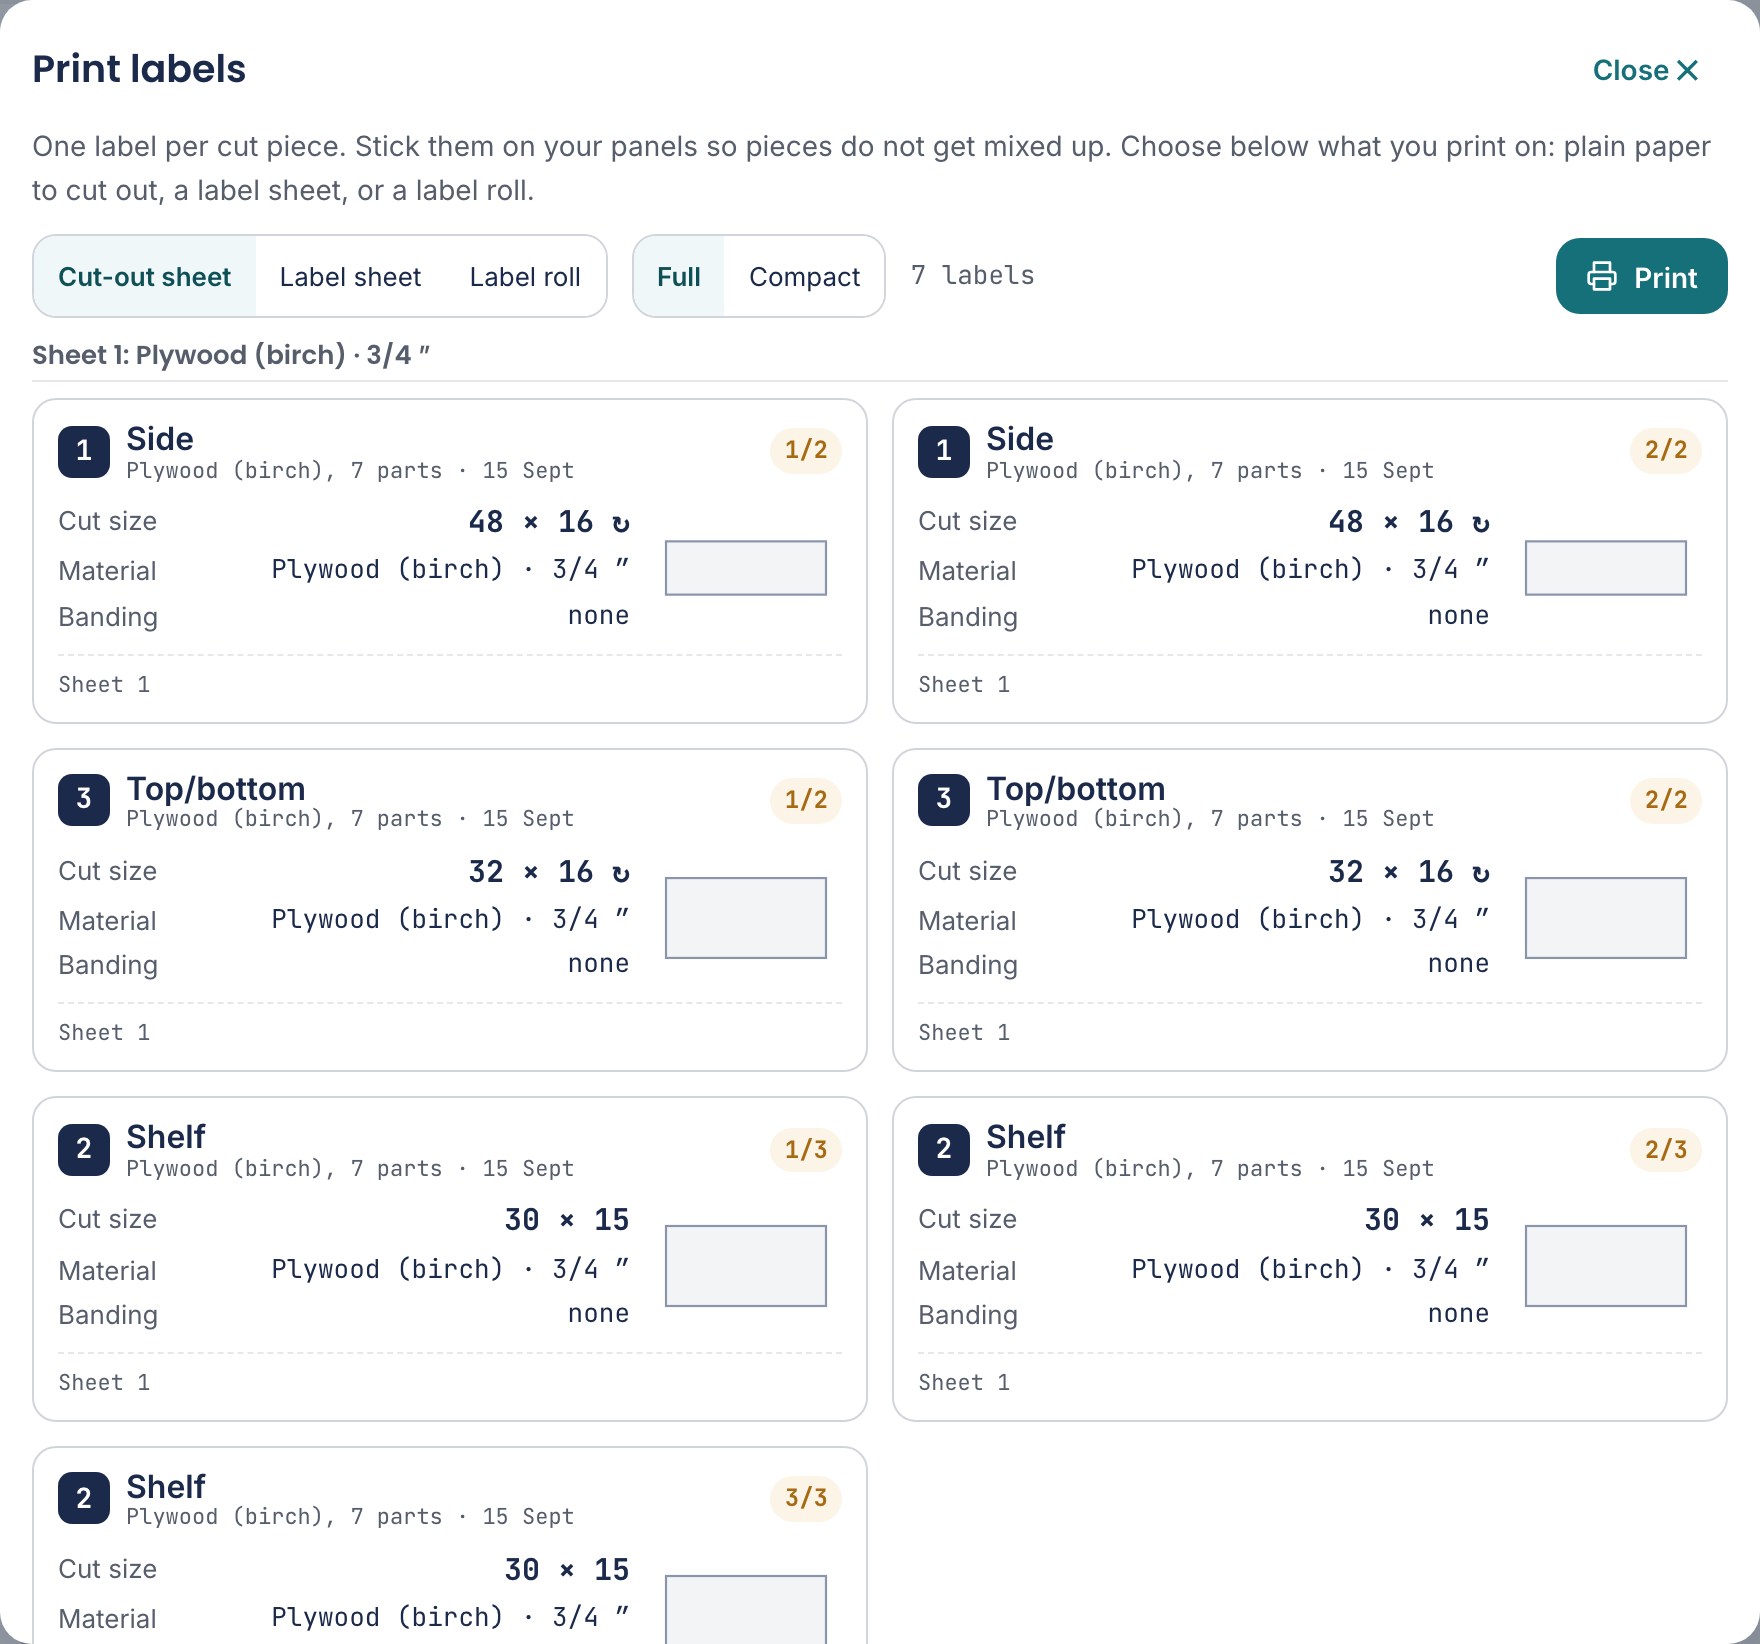
What you print on
- Cut-out sheet
- Plain paper with frames on it, which you cut out and attach with tape or a staple. Costs nothing and works fine.
- Label sheet
- A sheet of self-adhesive labels. Pick the size from the list, or enter your own grid.
- Label roll
- A label printer with a roll. Give the width and height of one label.
If your sheet is not listed, choose Enter my own size…. Then you fill in the grid yourself.
- Width
- The width of a single label, from its left edge to its right edge. Measure the label itself, not the space around it.
- Height
- The height of a single label, top to bottom. Measure the label itself, not the space around it.
- Columns
- How many labels sit side by side, so the number of columns on the sheet.
- Rows
- How many labels sit below each other, so the number of rows on the sheet.
- Left margin
- From the left edge of the paper to the left edge of the first label.
- Top margin
- From the top edge of the paper to the top edge of the first label.
- Pitch \u2192
- From the left edge of one label to the left edge of the one beside it. That is the label width plus the gap; if they touch, it equals the width.
- Pitch \u2193
- From the top edge of one label to the top edge of the one below it. That is the label height plus the gap; if they touch, it equals the height.
If the grid is wrong, the tool warns you: This grid does not fit on Letter, or the labels overlap. Check the sizes and spacing.
What a label says
With Label size you choose between Full and Compact. Full puts the name, size, material, sheet and edge banding on it; compact keeps to the essentials, for small labels.
For the size you choose Cut size or Final size. At the saw bench you want the cutting size. See Sizes and units.
If a side has edge banding, you see it: Banding: with the sides behind it, and · * = banding already applied So while banding you know which edge to do.
If a piece comes from your offcut stock, it says (from offcut stock). If a piece fits nowhere, it gets Not yet planned (does not fit on a sheet)
Practical
With Start at label you begin at a label other than the first. Handy when you already used half a sheet.
Outlines only (test print) prints only the outlines, so you can check on plain paper whether the grid is right before running an expensive label sheet through the printer.
There is also a label set for your offcut stock, with the code shown in the app. See Offcut stock.